Before you begin, make sure you have:
- A MineOS account.
- A OneTrust account with the Data Subject Request module.
Want an expert to assist you? Get a free personal onboarding!
1. Setup OneTrust
Open your OneTrust dashboard and follow the steps below:
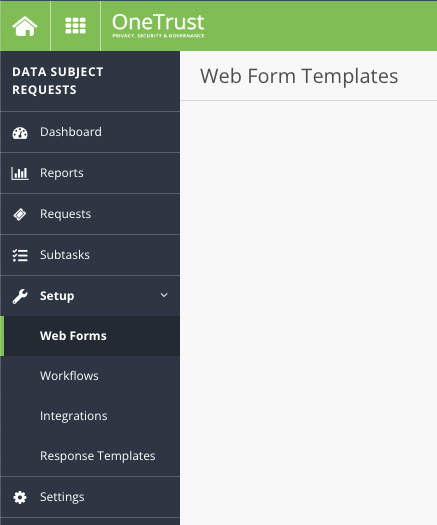
- From the launch menu in the upper left corner, select Data Subject Requests.
- Choose Setup -> Web Forms from the side menu.
- Click Add New
- Choose Global and click Next
- Fill in the following details:
- Web form name: MineOS
- choose your managing organization and select the fulfillment workflow.
- Click Create
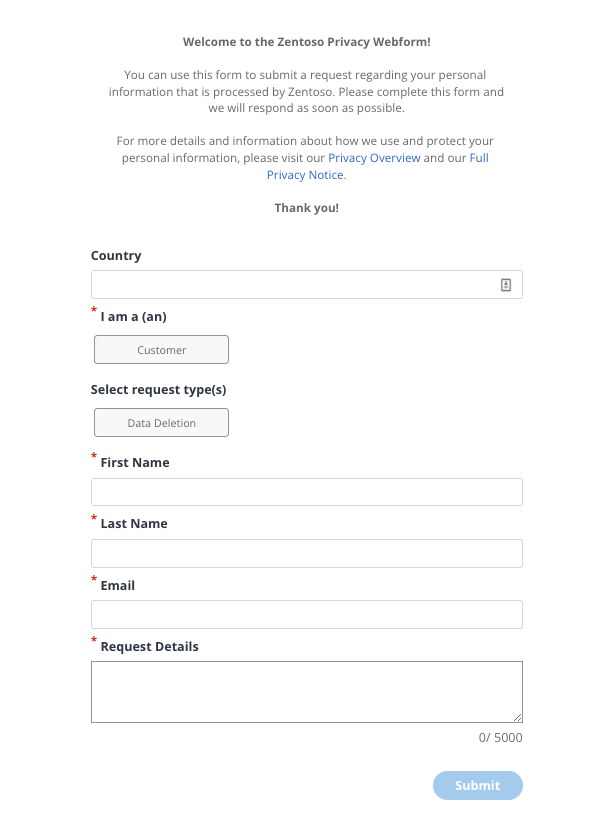
- Click Form Fields in the left and remove all fields from the form, except for: Country, I am a(an), request type, first name, last name, email, request details.
- From "I am a(an)" remove everything except for customer
- From "Request type" remove everything except "Data Deletion"
- Click Save Template and Publish
- The end result should look like this:
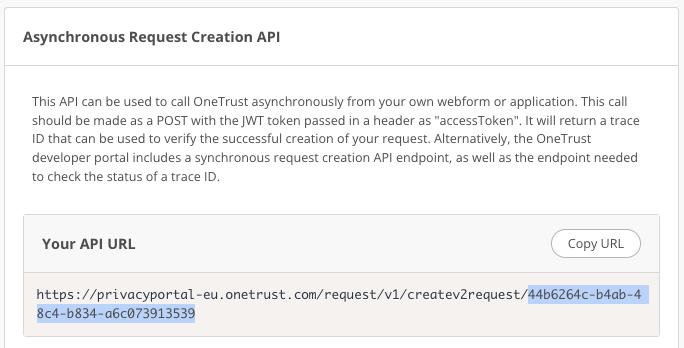
- From the Integrate tab select API and copy the Template ID if your form (just the value highlighted below)
- From the launch menu in the upper left corner, select integrations.
- Choose Connections from the side menu.
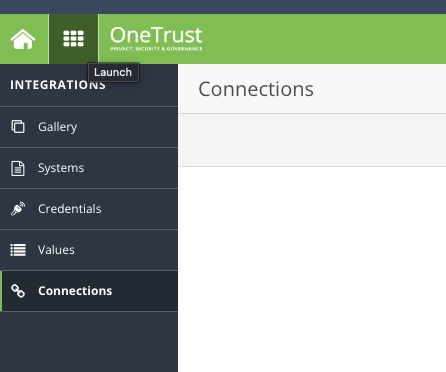
- Click "Add New" on the upper right corner.
- Enter the name & description as shown here. Select "Generic" as the system and type in your email as the notification email address.
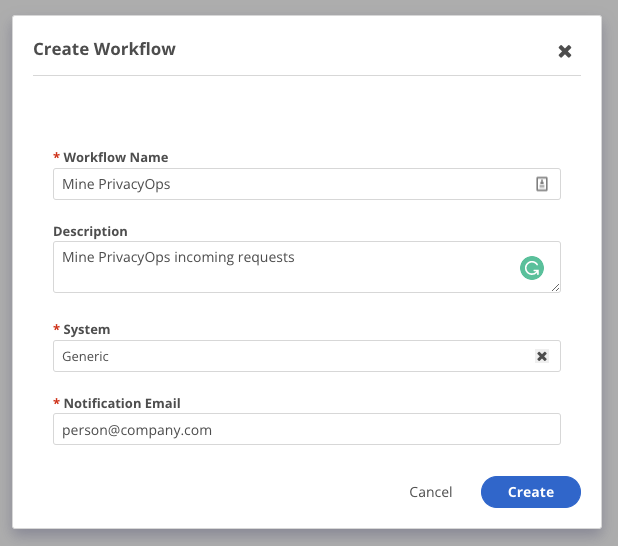
- Click "Create" and the workflow builder appears.
- Select Built-in tab and click Webhook
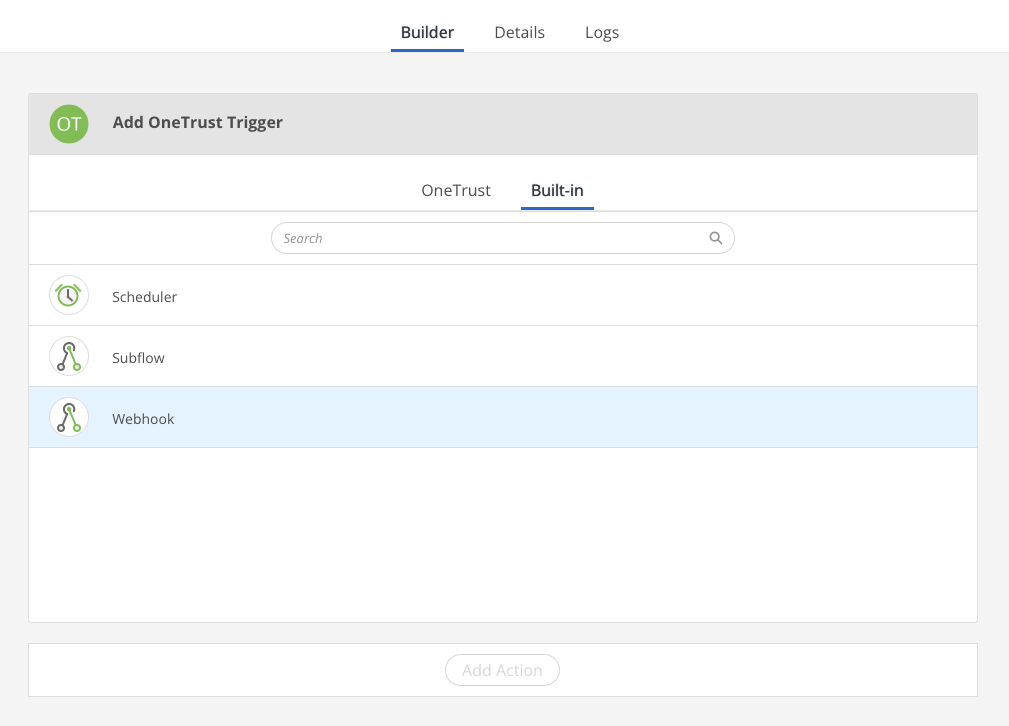
- Take note of the HTTP POST URL on this screen. You will need it later.
- In the Sample section, paste the example JSON from here.
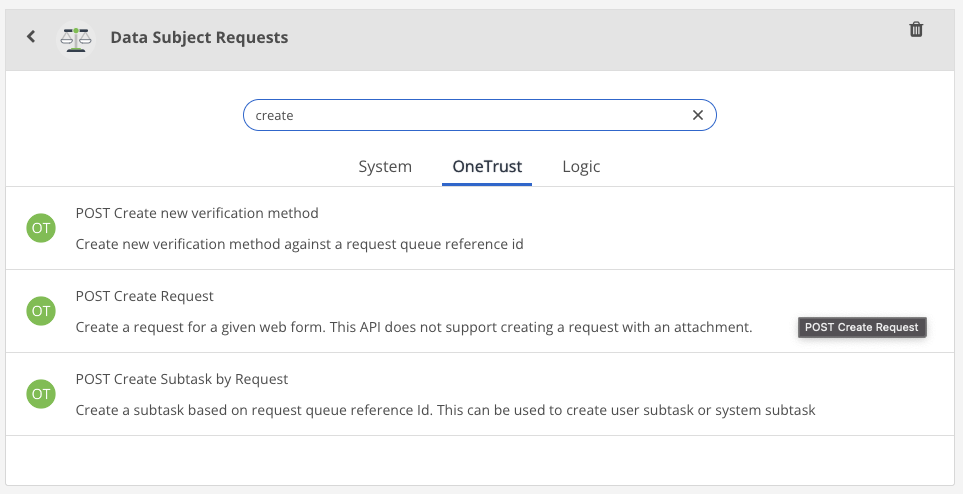
- Click "Add Action" at the bottom and choose OneTrust tab -> "Data Subject Requests"
- From the list, choose "POST Create Request"
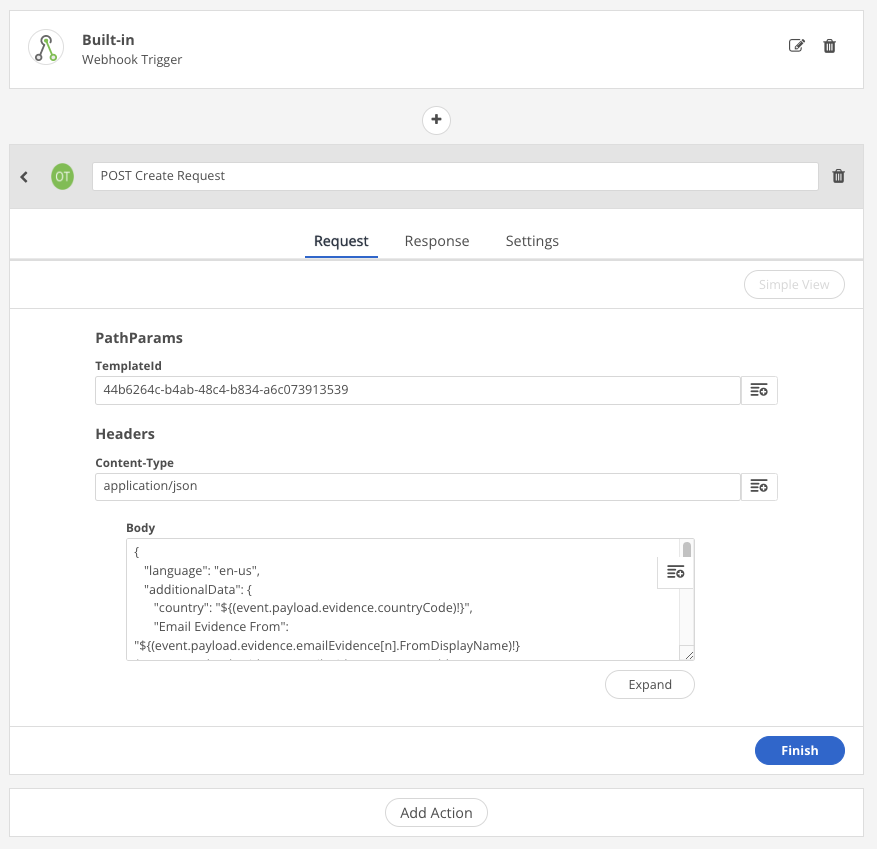
- Under TemplateId paste the template ID of the MineOS form we created earlier.
- Replace the Request Body with the following and click Finish.
{
  "language": "en-us",
  "additionalData": {
    "country": "${(event.payload.evidence.countryCode)!}",
    "Email Evidence From": "${(event.payload.evidence.emailEvidence[n].FromDisplayName)!} ${(event.payload.evidence.emailEvidence[n].FromAddress)!}",
    "Email Evidence Subject": "${(event.payload.evidence.emailEvidence[n].SubjectLine)!}",
    "Mine TicketID": "${(event.payload.ticketInfo.id)!}",
    "Domain": "${(event.payload.ticketInfo.domain)!}"
  },
  "requestTypes": [
    "Data Deletion"
  ],
  "subjectTypes": [
    "Customer"
  ],
  "firstName": "${(event.payload.userInfo.name)!}",
  "lastName": "",
  "email": "${(event.payload.userInfo.email)!}"
} - The end result should look like this:
- On the upper right corner, click Save and then Activate.
- To test the workflow:
- Click the ... icon on the upper right and choose Test Workflow
- Click Test and make sure you get a message saying "Status: 200 OK"
- Go to the Data Subject Requests module and make sure a new request has been created.
Setup on MineOS
Log in to your MineOS account.
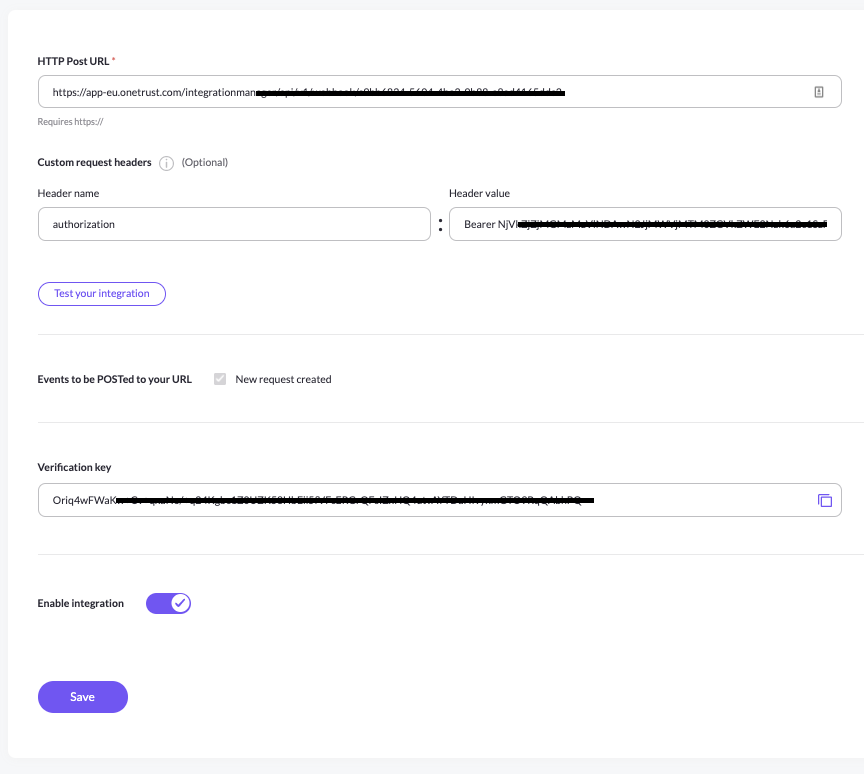
- From the menu on the lower-left corner select "For developers" and choose the "Webhook events" tab.
- In the HTTP Post URL Paste the URL you took note of from the previous step.
- In the header name type "authorization"
- In the header value type "Bearer APIKEY" while replacing APIKEY with your OneTrust API Key. If you don't have a OneTrust API Key - see the instructions below for creating one.
- Click enable and Save. The end result should look like this:
- To test the webhook integration:
- Click "Test your integration"
- Make sure a new request has been created on OneTrust
- The request should look like this

Creating a OneTrust API Key
- Click on Settings -> Access Management -> Client Credentials
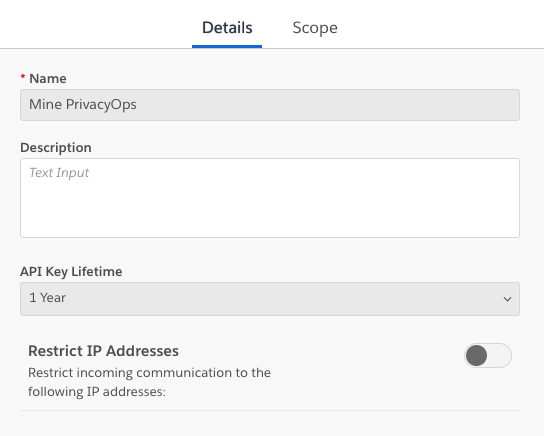
- Create a new API Key:
- Name: MineOS
- Lifetime: 1 Year
- End results should look like this:
- Click next
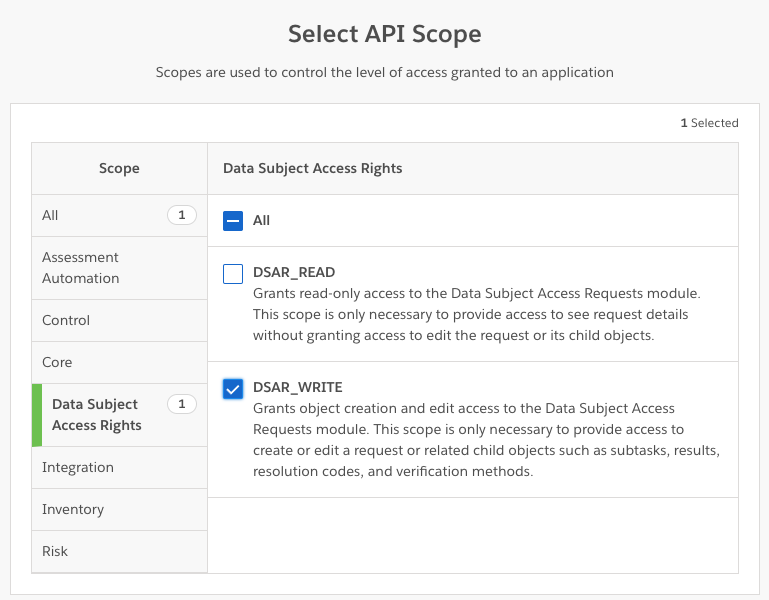
- Select the following scopes:
- Data Subject Access Rights -> DSAR_WRITE
- Integrations -> INTEGRATIONS
- Click Continue and copy the API Key
Troubleshooting The workflow
- In your OneTrust account, you can open the workflow's Logs page and see data about each event that was received.